Low Light photography Tips

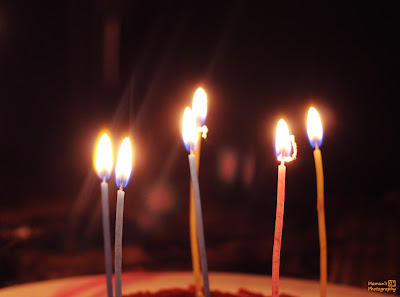
Is Photography is about capturing light that emits from different objects? So what happens when the light is insufficient? Low light photography is a type of photography what every photographer must have to deal with. This kind of photography is a bit tricky and photographer needs to know some extra techniques to get it perfect.
Sometime we avoid taking photos during dusk or low light. Photo under low light can be more precious than any other time if it is taken by a good photographer. When we shoot in the evening, during time of wedding photography or when we shoot photos of landscape in the dusk it opens a door of opportunity for us to take some creative shots.
Related: Sunny 16 Rule in Photography
Photography tips to learn photography in low light conditions:
Use wide aperture lenses:
Every lens has a hole inside that passes light through the lens. The wider the hole is, the more light is coming through the lens. And of course keep in mind that larger the opening = the lower the f-stop number. Lenses like Canon EF 50mm f/1.4 USM has a wider aperture. And f/2.8 lens is slower than an f/1.2 lens. In tight budget we can go for a 50mm 1.8 Lens.
>>If you use wider aperture lens in low light you can set you aperture maximum. Thus more light will come and you will be able to take photos in low light.
Use Lenses with Image Stabilization or VR Technology:
If your Lens support image stabilization use it. Rule of thumb says if you want sharp pictures the shutter speed should not be slower than same fraction as your focal length (according to lens)– like, if you’re using a 50mm lens, set your shutter speed to 1/50 second. So if your lens supports image stabilization you can then slower shutter value two or three steps.
>>It will prevent you from taking blurry photos.
Use Higher ISO:
I don't suggest you to higher the ISO all the time but in some cases when you are in a hurry you can do this. Normally I will not suggest you to use more than 400, but in some critical situations you can higher the number, but keep in mind to shoot photos at RAW mode because when you use higher ISO the grainier the picture is and if you shoot RAW there will be chance to edit it in post –processing mode.
>>Photos will be brighter.
>>You can choose higher shutter speed if you increase ISO then it you can avoid taking blurry photos.
>> Remember grainier images is better than blurry images.
Use a camera tripod:

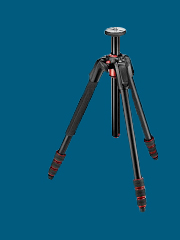
As I mentioned earlier I don’t prefer higher ISO. So what is the option? If we don’t use higher ISO then we must have to use slower shutter speed. And then we may get blurrier photos. How can we get rid of this situation? The solution is use a Tripod.
>>We can avoid blurry photos.
>>In some situation tripod is a must. Such as while we shoot light trail images, motion in water. (I will explain it in another article soon.)
Use Manual Focus:
>> According to your lens focal length range you can choose any point and can take a clear shot.
Things you must understand for taking good shots at low light
*** Learn Proper Exposure:
*** Shoot In RAW:
Though RAW file is huge in size, it offers a great flexibility while editing. Most low light photos need to be post-processed in some way so shoot in RAW for best results so that you can edit it later.
Related: Rule of Thirds Photography


Hey – great blog, just looking around some blogs, seems a really nice platform you are using. I’m currently using WordPress for a few of my blogs but looking to change one of them over to a platform similar to yours as a trial run. Anything in particular you would recommend about it? photoshop collage template
ReplyDelete